By Vanessa Pratley
Investigative Journalist | Kaipūrongo Whakatewhatewha
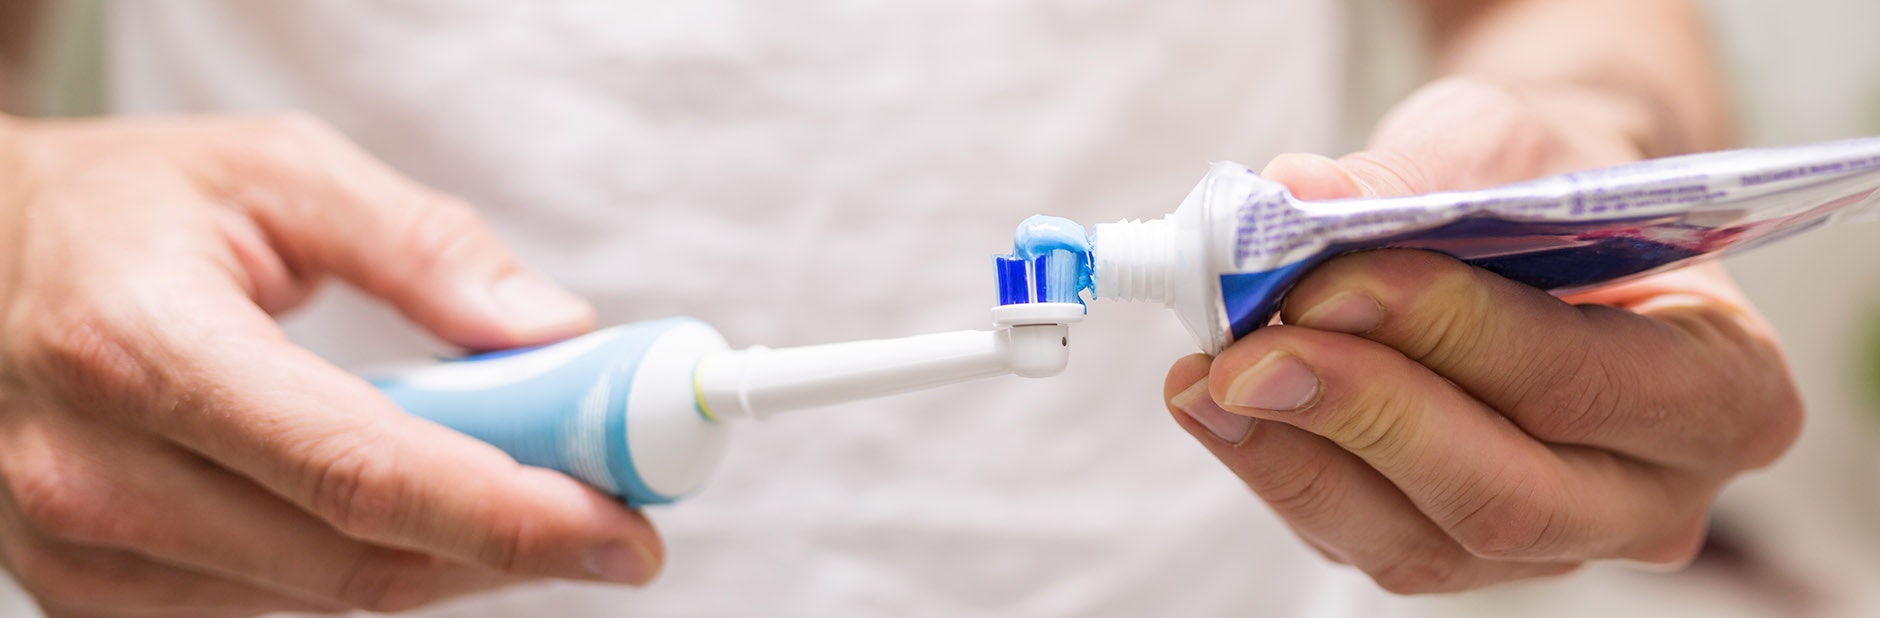
Flossing. The forgotten (or ignored) middle child of most people’s dental hygiene routines. My hygienist says it’s good for me, but I hate doing it. It’s fiddly and can be a real drag at the end of the day.
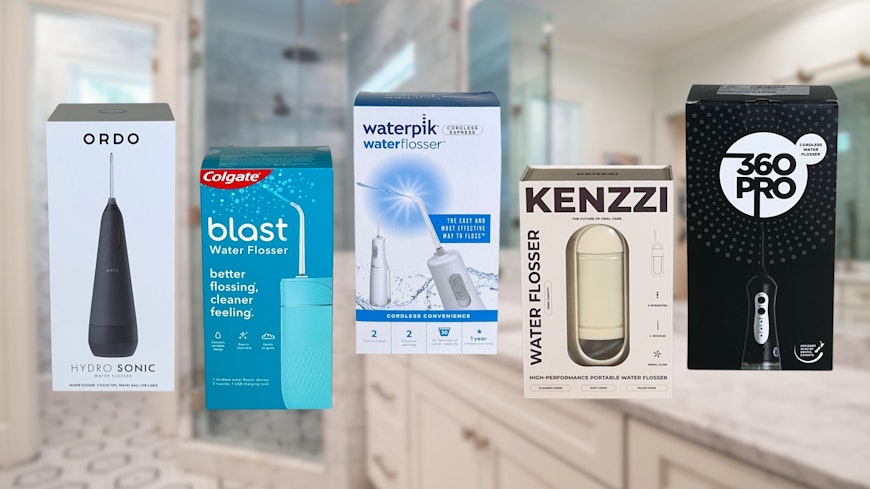
Enter the water flosser, supposed saviour of my teeth and gums. The marketing must be convincing – consumers often search for water flosser test results on our website. We bought five water flossers, including models from brands Waterpik and Colgate, and tried them out for ourselves.
Water flossers to avoid
Best water flossers
How to use a water flosser
Instructions between models vary, but, in general, here’s how to use a water flosser.
Ensure unit is charged and fill the tank.
Hold the nozzle at a 90-degree angle to your gum line and activate the unit, following the arcs of the gum line, in between teeth.
Keep mouth slightly open for water to come out, but don’t smile or grimace. If you try to see what it’s doing to your teeth, you’ll get splashing and mess.
Refill the tank as needed, and empty and dry unit after use.
Tips and tricks
Try it in the shower. Worried about mess? You can get away with a lot of it in the shower – just make sure your unit is waterproof or water resistant.
Use lukewarm water. If you’ve got sensitive teeth, a blast of cold water can send shivers down your spine. Fill the tank with lukewarm or warm water instead.
Use mouthwash. You can use mouthwash in place of water with many models. Make sure to check the manual and rinse the unit thoroughly with water afterwards.
Don’t try and look at your teeth and gums while you do it. It’s a tactile experience, not a visual one.
Clean it regularly. You’ll need to clean your water flosser once every couple of months to prevent mould and bacteria build-up. Look for a removable tank. Some models, like the Ordo Hydro Sonic, allow you to clean the tank in the dishwasher.
How we trialled water flossers
We scoured the internet for the most popular and widely available portable/compact water flossers. We purchased five from shops around Wellington and had five triallists with a range of dental habits and characteristics trial two flossers each for a period of three days per flosser. Each triallist scored flossers on a scale of 1 to 5 for these metrics:
Ease of use (How easy was it to set up, use, adjust, store?)
Efficacy (How well did it feel like it flossed teeth?)
Comfort (How comfortable was it for your gums?)
Noise (How noisy was it? 1 is very noisy, 5 is silent)
Mess (How messy was it? 1 is very messy, 5 is not messy at all)
We added up the scores from both triallists to get a total mark out of 50. We also asked triallists whether they would buy the unit themselves or recommend it to a friend. We purchased our water flossers in March, and prices reflect what we paid when we purchased them, rather than current pricing.
What to think about before you buy a water flosser
Do you need one? They can be helpful for people with braces, implants or plates. Or you might find traditional floss hard to hold or hard to fit between your teeth. Keep in mind that water flossers are not necessarily easier or less fiddly, just different.
Countertop versus cordless: We opted for five cordless models for this trial. They tend to be less bulky and less expensive than countertop models, and you can travel with them and use some of them in the shower (See tips and tricks). Some flossers take up a lot of space, but cordless models tend to be smaller than corded. If you’ve got limited space to begin with, this is worth considering. Do you have somewhere else you can store it? A cupboard?
Rechargeable versus battery-powered: Most models are rechargeable and come with a charging cable, but we were surprised that one of the models we trialled was battery-powered. If you don’t mind stocking up on batteries, this won’t be a hassle, and after changing them out, you’ll be able to use it straight away.
Water tank size: The models in our trial had a range of water tank sizes. Tank size will determine how long you can clean for before you have to fill up.
Attachments: Some models come with a range of tips. All the models we trialled came with at least two replacement standard heads, but for some you can buy tongue-cleaning heads and bristle heads too. Keep in mind you’ll have to change tips around every three to six months. Replacement tips for the models we trialled were available for under $25, except for the Kenzzi model, which didn’t have replacements available.